Monday 29 December 2014

Cards

Anne - Birthday (Christmas day)
One of my long time scrap friends.
Stamps Foxes - Gorjuss
Foliage & stars - Indigoblu
Dies cut - Papermania
Coloured with Inktense Pencils
Perfect Pearls on stars
 

My Dad's - Xmas Card
Stampendous stamp - St Nick
Wink of Stella clear brush pen
Inktense Pencils
Doily with acrylic paint
& Inka gold


My Sister Tracy & BIL Martin's Xmas Card
Stampendous stamp - Snowy Postcard
Inktense pencils
Wink of Stella clear brush pen
Doily with acrylic paint & Inka gold
Label tag - Papermania
 

Queen Bee Beauty Salon - Xmas Card
Doily with acrylic paint & Inka Gold
Crafty Individuals - Angels
Inktense Pencils
Wink of Stella clear brush pen


Wednesday 24 December 2014

Christmas Wishes

Merry Christmas to all my
craft friends old & new!
Some of us go way back
& it is good to be seeing 
a whole New Year coming to
spend with you & the possibility 
of meeting new friends along the way!

So eat, drink & be merry!
Cherish time spent with loved ones 
& let's hope 2015 doesn't fly by
quite as fast as 2014 did because there
are so many thinks I want to try
& new products to play with!!

Merry Christmas Everyone. X

Saturday 20 December 2014

Bottom of the Sea Art Journal Page

I started this page in June. It has been
re-worked 5 times. I finally got it how I wanted it
and then I added my chosen wording in black
stamping and it looked awful!
The words were too black and ruined the
feel I wanted for the piece. So I had to get out
some acrylic paint and cover it all up.
Now I can not get it back to the colour that it was :(
But, I am happy enough to call this DONE!
 
 
I applied home made texture paste through the
CW branches stencil at the top left to look like seaweed.
Then bottom right through my Clarity Stamps stencil Pods
to resemble Sea Anemones. I coloured them with Inka Gold
in Turquoise & greens. This made it too shiny.
 
So I applied some acrylic paint first & them over painted
most of the textured sections with Silks Acrylic Glazes.
It looked fabulous (until the stamping)
 
I ended up painting dark blue & then re- applying
Silks & Primary elements over the top.
My fish & crab are coloured with Inktense Pencils.
I added sequins to give shimmery bubbles to the water
and computer generated the words which are more suited
to the overall tranquil feeling I wanted for this piece.
 

Monday 24 November 2014

Art Journal - Quirky World

Beware! Very bright colours!!!
I am VERY happy with this one.
I had a plan for Psychedelic but it wound up Quirky. 
Mind you it did begin as a happy accident.
I was testing out a new Joggles stencil - Swirls
on the inside covers of the journal and ended up with
rather a lot of juicy ink left on the stencil.
So not wishing to waste any I flipped it and this was
the resulting print ( Dylusions Pomegranate seed)
 
 
My background was then built up using
Dylusions Luscious Leaves stencil
with distress inks, Squeezed Lemonade
and Wild Honey for funky checks.
Forest Moss & Mowed Lawn distress paint
for the upward leaves.
Shabby Shutters distress ink for rays at the bottom.
Sponged Seedless Preserves across the top.
Forest Moss paint for the hanging
leaves (Dylusions Leaf Flourish Stencil)
The word blocks were created on my computer
using my Cameo Silhouette Studio software;
Font - Billo
then printed onto regular card stock.
My figure was made up of collage images
from a set purchased on Etsy;
Crazy Paper Dolls - by Cemerony.
Thank you for looking.


Saturday 15 November 2014

Autumn Art Journal Page

This is page 17 in my journal.
Pages 15 & 16 are in various stages of completion.
I am totally thrilled with how this one
turned out! :0) :0)
Autumn - My favourite season to depict
in art work due to the fabulous array of colours.
I know summer is pretty but Autumn is full of
russet, gold, terracotta & greenish browns.
 
 
What this photograph does not show is the umpteen
layers that went into creating the depth of colour
in the background.
I lost count after 7 applications of paint and ink.
I stencilled the trees either side with my
homemade texture paste and the centre in brown
heavy body acrylic paint.
I made two "trunks" from chipboard for the outer
trees using chipboard as the stencil (CW Reverse Branches)
has no trunks on it.. Once the texture paste was dry the trees were first painted
with Luminarte Silks Acrylic Glaze in Chestnut Brown.
Once that was dry I added brown HB Acrylic paint sparingly
by dry brushing over the branches.
Fence is a Die cut as are the two birds.
Word Autumn - TH Chip block Alphabet
This was coloured with Ripe Persimmon Ink, covered
with Rangers Crackle Glaze & once dry
swiped over with Gathered Twigs.
Then of course I added my leaves!!!
TH Tattered Leaf die, some sprayed with
Dylusions; Ground Coffee/ Chopped Pesto
Tangerine Dream & Melted Chocolate
The rest were Gilded with Indigoblu Mega Flakes
Winter Dawn (silvery ones)
Chocolate Box (goldish ones)
I am extremely please with those leaves!!!!
Finally the wording strips.
These were computer generated & inked with Antique Linen.
The words are the first two lines taken from
the poem "Leaves" by Elsie N Brady.
“How silently they tumble down
and come to rest upon the ground.
To lay a carpet, rich and rare,
beneath the trees without a care.
Content to sleep, their work well done,
colours gleaming in the sun.
At other times, they wildly fly,
until they nearly reach the sky.
Twisting, turning through the air,
‘till all the trees stand stark and bare.
Exhausted, drop to earth below,
to wait, like children, for the snow."
I wanted to use the whole of this beautiful poem,
but felt it would not look right on my page.
 

Friday 31 October 2014

Journal Page for Hallowe'en

I had real fun creating this Hallowe'en themed Page!
I had the image in my head from the word, go
& I'm pleased to say it mostly went as planned.
 
The background began as pieces of dry wall tape
randomly stuck down. It was then covered generously with
gesso & dried. Then came the two stencils & home made
texture paste. Beaded home made paste added at the bottom.
I then painted the sides with TH distress paints but
once dry it was too dark so I went over it with Silk Acrylic Glaze.
Added die cuts & hand cut pieces all in black.
Then painted them with matt black paint.
I added texture paste to the top of cauldron & made it look
as if it had spilt down the side as the Witch stirred the mix.
For fun I added textured circles for bubbles.
Acrylic Glazes - Moss Green, Olive Vine
& Boysenberry. Beads painted with Primary Element Pigments
Black Orchid & Blushing Rose to redden some of the brown.
I painted the bubbles & Cauldron "gloop" with Primary elements
Lucky Apple & added some further colour with Big Brush Markers
by Faber Castell. Finally gave both the Cat & Witch some
white highlights to make them stand out as bit.


Monday 27 October 2014

Art Journal Pages

Page 13 of my large journal.
Loved how this eventually turned out.
Background made of tissue
sprayed with inks (dylusions ground coffee
& tattered angels coffee shop)
Postcards using Papermania stamp
and covered with more.
Lettering stamped and painted with
Crimson Silks Acrylic Glaze.
Word - Art die cut
Word Writing - computer generated.
The title is a play on words
my question is really two.
Is letter writing dead, or in this technological world,
is writing dead?
Bottle made from chipboard
Feather found on floor.
Stencil - Cubist / old postage stamps.
 
My next pages are the start of my new Visual Journal.
I bought a gorgeous Derwent hard covered journal in
Corbridge during my holiday it measures roughly
61/2 x 4 3/4 & I will mainly be doing work in watercolour with
inktense pencils.
Some paint (TH Distress because dries flat, smooth & permanent)
My first page below (hidden address)
2nd pages not yet complete.
 

3rd pages - using paper, photos
& inktense pencils to tell my story.

Stamp - Sheena Douglass
This will be pretty much how my book will look on each page.
Except I will do stencilling with paint
here and there.
thank you for looking.


Thursday 23 October 2014

Happy Anniversary Tracy & Martin!

 
 It took me ages to get this photo
and even now it is not the greatest!!
Background was hand made, as was the tag.
I applied some texture paste and a Tim Holtz die
trellis. I made the bird & circle with the silhouette Cameo by
creating the hoop & welding one of my bird shapes onto it.
I then applied beads with some soft matt gel
& nutmeg primary elements.
I added tiny birds & leaves (die cuts) along with the
prima flowers.
Stamping used here and there to add interest.
I am quite pleased with this one, but as usual
I am critical of it & would do bits another way!!

Friday 17 October 2014

Baby Mini Book

WARNING!!!! Photo Heavy!!
One of my colleagues, Krystal recently
gave birth to her son, Jimmy.
I didn't make a welcome baby card, instead
I made this mini book.


The book began life as a 12"x12" sheet of white
cardstock, folded like a maze book but then
pages glued together to make 8 double
spreads. I then primed them all with gesso.
Once dry, coated each page with texture paste,
(my binding ingredient - baby talc)
once this was dry it all got a coat of
clear gesso to seal and then when that was dry
I went in with blue acrylics in baby blue & sea spray.
It took 3 days just to get all that done!
So I busied myself making the watercolour paper stars.
Photos were all taken by Krystal, partner Mark
and various friends/relatives.
I had the pleasure of meeting baby yesterday
even had a cuddle! and Krystal loved
the book so I can now share it!


Friday 3 October 2014

Another Wedding Commission!

This time it was another colleague,
Hollie, who requested a card for her friend
Samantha's big day.
My design brief was, hearts & roses,
Cream & deep red & to include a phrase
& a verse. Quite a lot to go on.
Here's what I came up with..
 
Die cuts by Tonic Studio
Embossing Folder - Vintage Floral (roses)
by crafters Companion.
I added the phrase like a banner.
 
 I used Art Extravagance Texture Paste
by Finnabair /Prima in Platinum crackle to
age this Tim Holtz die cut bookplate.
 
Verse created in Silhouette Cameo design software.
I then printed it onto cardstock before running
through the big shot.


Finally, I made a box for her to put it in
& decorated it with more tonic studio die cuts.
I saw this box on this You Tube Video  by LiveLoveScrap.
I just had to give it a go.
Very pleased with the finished result.
 

I have been very busy, reading,
learning & playing in my art journals.
Nothing complete that I am able to share just yet.
I am also creating a mini book for a colleague, Krystal
who recently had her first baby.
That I will be sharing soon.

Saturday 13 September 2014

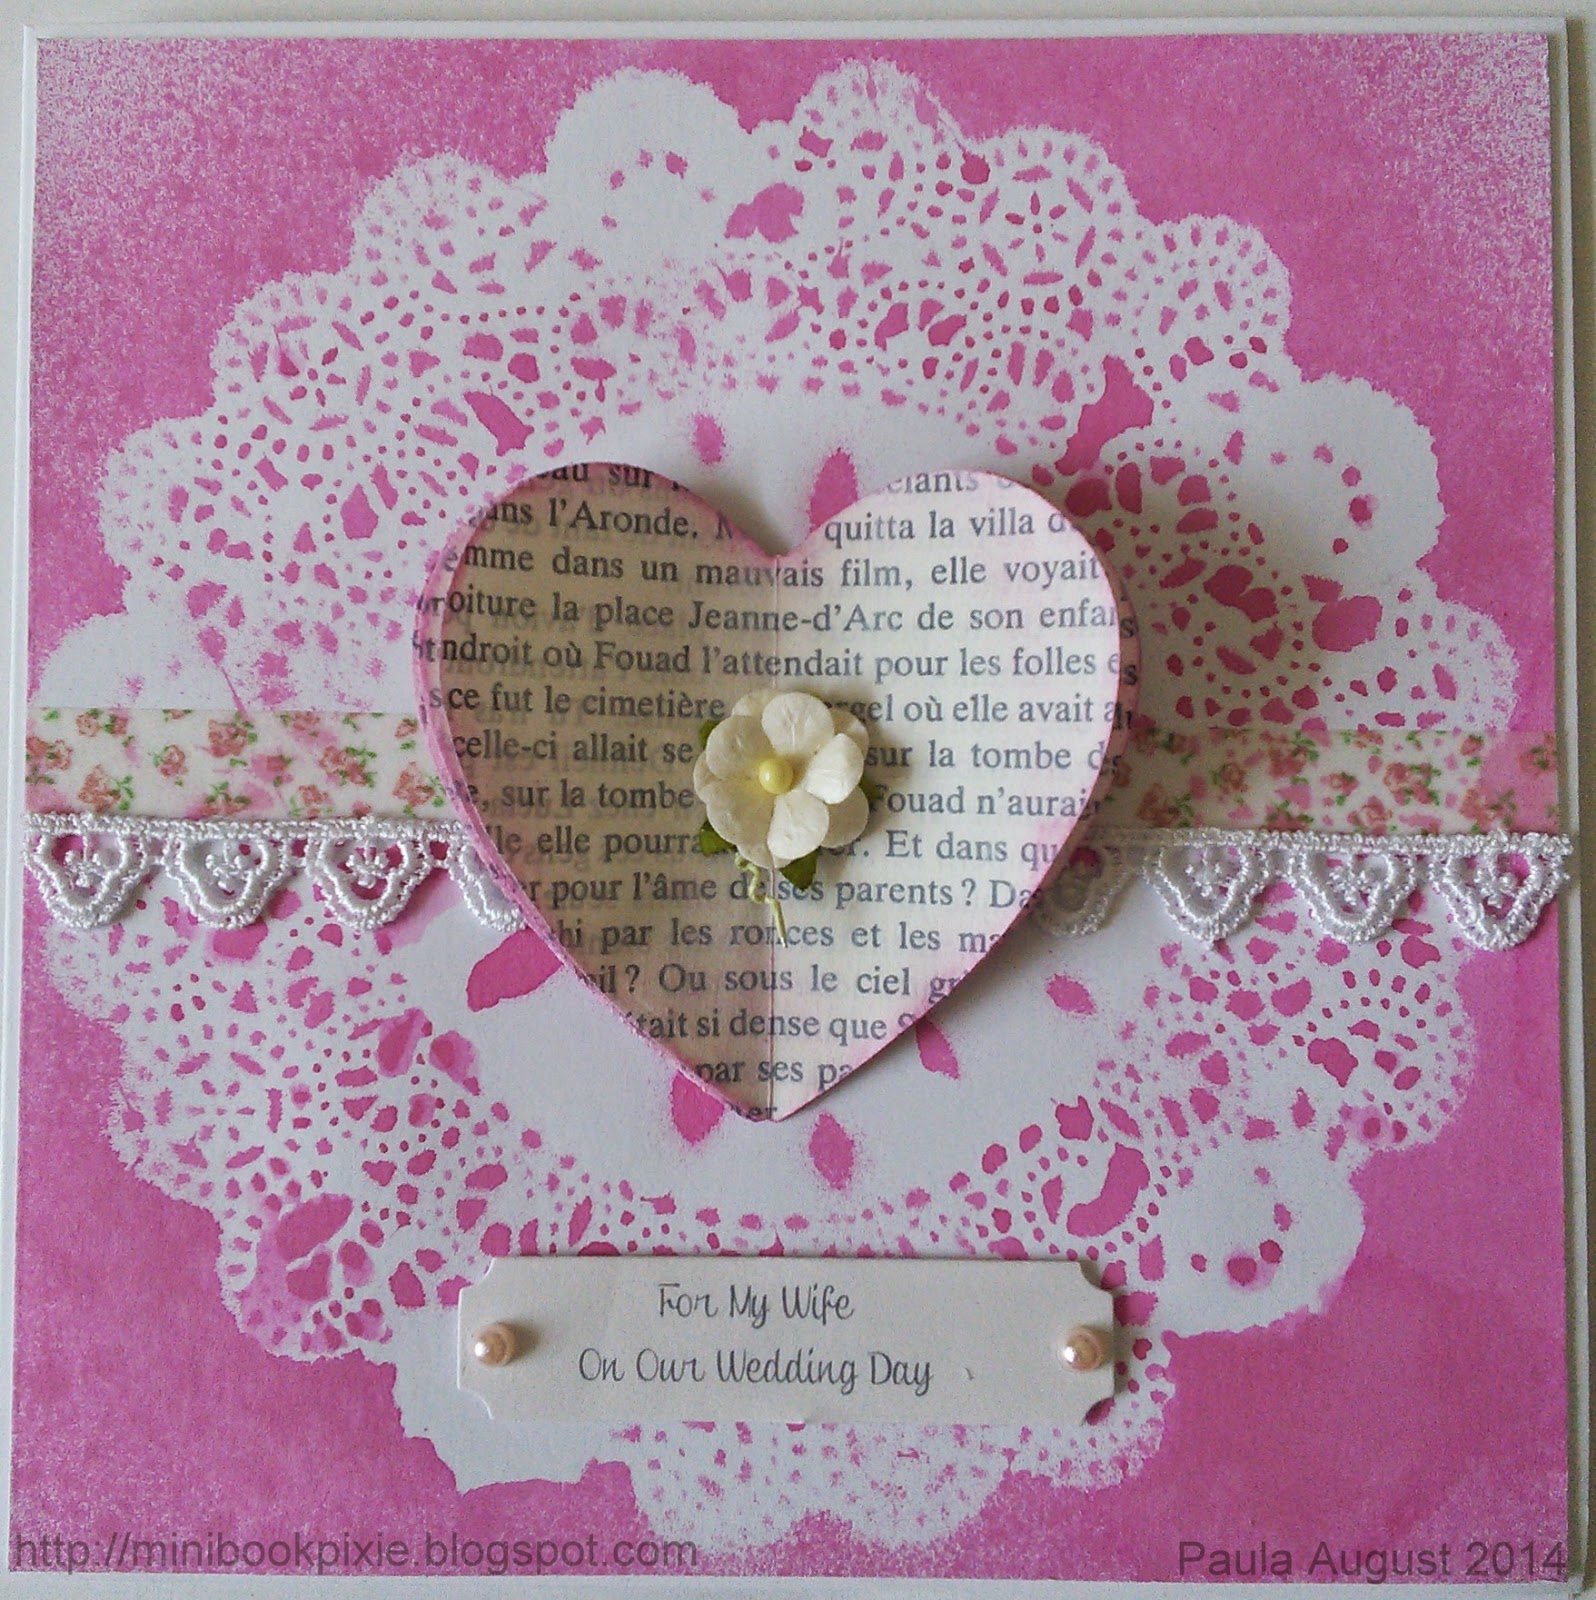
Commissioned By The Groom!

My colleague Matthew is getting married today.
Congratulations to both him & Hayley.
He asked me to create a card which
he could give to Hayley on the wedding day.
His only instructions - it had to be "Hot Pink"
After I had got over the thrill of being asked
to create such a special card,
I got to thinking....
is he sure!!!!!!!
 
I was away for a week at my sister's at the time.
He messaged me on Facebook with his request.
I am glad to say he was right, I did it and
he reported early this morning that most
important of all....
She Loved It!!!!
Job done!
 
So here it is.
 
 
Card covered with a doily & sprayed with a
diluted re-inker - Picked Raspberry.
Once dry I glued lace across the centre.
The heart is created from some sheets of French book text.
I lightly painted them with gesso
edged with picked raspberry ink
& attached in the centre.
Message was computer generated & die cut.
I selected French text for two reasons.
a) it is romantic
b) Hayley's parents live in France.
So I knew it would have hidden meaning for her.
The card was mounted onto a white folded card
& I added plain velum in the centre to which
I stamped feathers in white ink.

Friday 15 August 2014

Another photo

A slightly better photo of Rain!!

Art Journal - Rain

This is my twelfth journal page.
I based it on a favourite song of mine
Rain - Ladysmith Black Mambazo
I am NOT happy with how the blue shadow looks
because it really is not that colour on the page!!!!
 
 To create my page I took a piece of scrapbook paper
I knew I would not use on a layout & covered it with gesso
spritz blue inks all over it and allowed to dry.
I then covered it with Tim Holtz tissue.
I added a bit of blue paint with sponge here & there.
I die cut Umbrella man from chipboard & used
it as a stencil to apply Viva Décor Ferro paste
in Steelblue. I let it be uneven too for texture.
I stamped images of rain drops, rain in words
& die cut letters & added a lady with Umbrella.
Stamps by Katzlecraft,
(mine were previously loved)
Studio G & Inkylicious

 
This is a small postcard I made to send
some documents to my sister.


used distress emboss ink & black embossing powder.
I then gently stippled paints around them.


Sunday 10 August 2014

Recent Creations

Firstly I am sharing the final pages
in my 3x3" handmade mini journal.
They are a bit hard to photograph  because
I coloured the pages with two shades of Inka Gold
 
 
Next is the start of a new project.
My very first hand stitched (bound) art journal!
This book measures 91/2x51/2" open page spread.
This journal is all about backgrounds
with texture/colour/imagery.
This first image is the front piece of the booklet.


This is the first double page spread.

 
Second double page spread.
I want this all about colour and texture
I want to experiment with stencils, pastes
floral images and stamping.
I am not bothered about any journaling on the pages.
I will share the cover when the journal is complete.


Sunday 3 August 2014

Album/Box decorate Tim Holtz Style

WARNING!!!!!
PHOTO HEAVY!!!
 
First picture is a collage of it all.
 

This is my favourite side. 

Totally love the top of the lid.

Back.

Close up of centre Eiffel Towers.
These would not meet neatly in the middle
& so I have put battery tea light in centre.

 One of the sides.
 
 Front - wish I had used my favourite side for this!!
 
 The mini album inside.
I wanted to make a functional mini album.
I wanted it to be cheap to make and
I wanted to use my Tim Holtz papers
& new Stamps & Dies set French Flight.
I can not take credit for the design of this book, the credit
goes to Kit Bauer (Paper Kitz) She has a You Tube
Channel where she made mini books from one single
sheet 12x12. So of course this thrilled me!
This was fun to make. The box itself took 25 minutes.
The decoration took about 5 hours over the course of a week!
French Industry Paper
Distress Ink - Walnut Stain/ Antique Linen
Hand stained coffee paper
Tim Holtz Stamp sets
Chipboard - backs of A4 pads.
Trinket Pin
Book Plate die
Chain
copper brads aged with Inka Gold Browngold

Friday 18 July 2014

Create

 
My eleventh art journal page.
This is possibly my second favourite.
I started with a piece of scrapbook paper
Squared Papermania Happy days
I clear embossed the swirls & borders top & bottom
before spraying re-inker sprays in
Spiced Marmalade/ Fired Brick
Wild Honey/ & a mix of Fired Brick with Mandarin
Perfect Pearls for shimmer.
I added the Tattered Bird & Text (both TH)
by stamping onto tissue & apply with gel medium.
Flowers & butterflies - ISC Friendship plate.
I stamped the images in Hero Arts Cup o Joe
& edged the page with Rusty Hinge/Barn Door
You might not see but the page was also over-stamped
with script & a crackle stamp using Apricot & Sand Hero Arts inks.
Images coloured with Big Brush Pitt Pens.
I loved the quote & felt the background squares gave
an industrial/urban look.


Thursday 10 July 2014

Two More Mini Journal Pages

 With this one I coloured my pages orange
& then applied homemade texture paste through
the stencil while the background was still slightly wet.
It gave this fab paler orange texture.
Stencil - TCW

 
This started off as reduction stencilling,

but then, I started to add touches of
colour to make the stars & flowers pop.
Image - ISC friendship plate
 
only one more spread to go and my mini is finished!!


Saturday 5 July 2014

Happy Birthday Tracy


My sister Tracy's special birthday.
Spending time together for her big day
Special thanks to my friend, Jade who is very kindly  house sitting for me.

Saturday 28 June 2014

Art Journal - Friendship

 
This is my 10th Journal page.
I am VERY happy with this one!
I was inspired (as I most often am)
I fell in love with this colour palette
after watching this video.
I modified the reduction technique
& even added some 3D swirls using gesso.
MATERIALS USED
Stamps - Art Journey & Craft Individuals.
Words -Tim Holtz Chit Chat Stickers
Quote in circle - Friendship plate - ISC
My paint colours are rose & turquoise acrylic
with degrees of white mixed in .
I added TH Seedless Preserves Distress paint
some Artistes Baby Blue paint
Pitt Artists black pens in 4 sizes.
FRIENDS - Alice alpha die X-cut.
Circles drawn around die cut card shapes.
Inka Gold in Turquoise.
Copic markers in flesh tones
Distress markers for girls clothing.


Sunday 22 June 2014

More Wedding Card Photos

Following on from the post yesterday,
here are two far better photos of the Wedding Card.
 
Detailed Front

In the box